DIY Digitisation Guides
We believe in preserving memories, whether you do it with us or do it yourself. These step-by-step guides walk you through the equipment, software, and techniques needed to digitise legacy media at home, written by the same team that handles professional transfers every day.
Each guide covers what equipment to buy (and what to avoid), how to set everything up, common pitfalls, and honest advice on when DIY makes sense versus when professional help is the better option. We use UK suppliers and prices throughout.
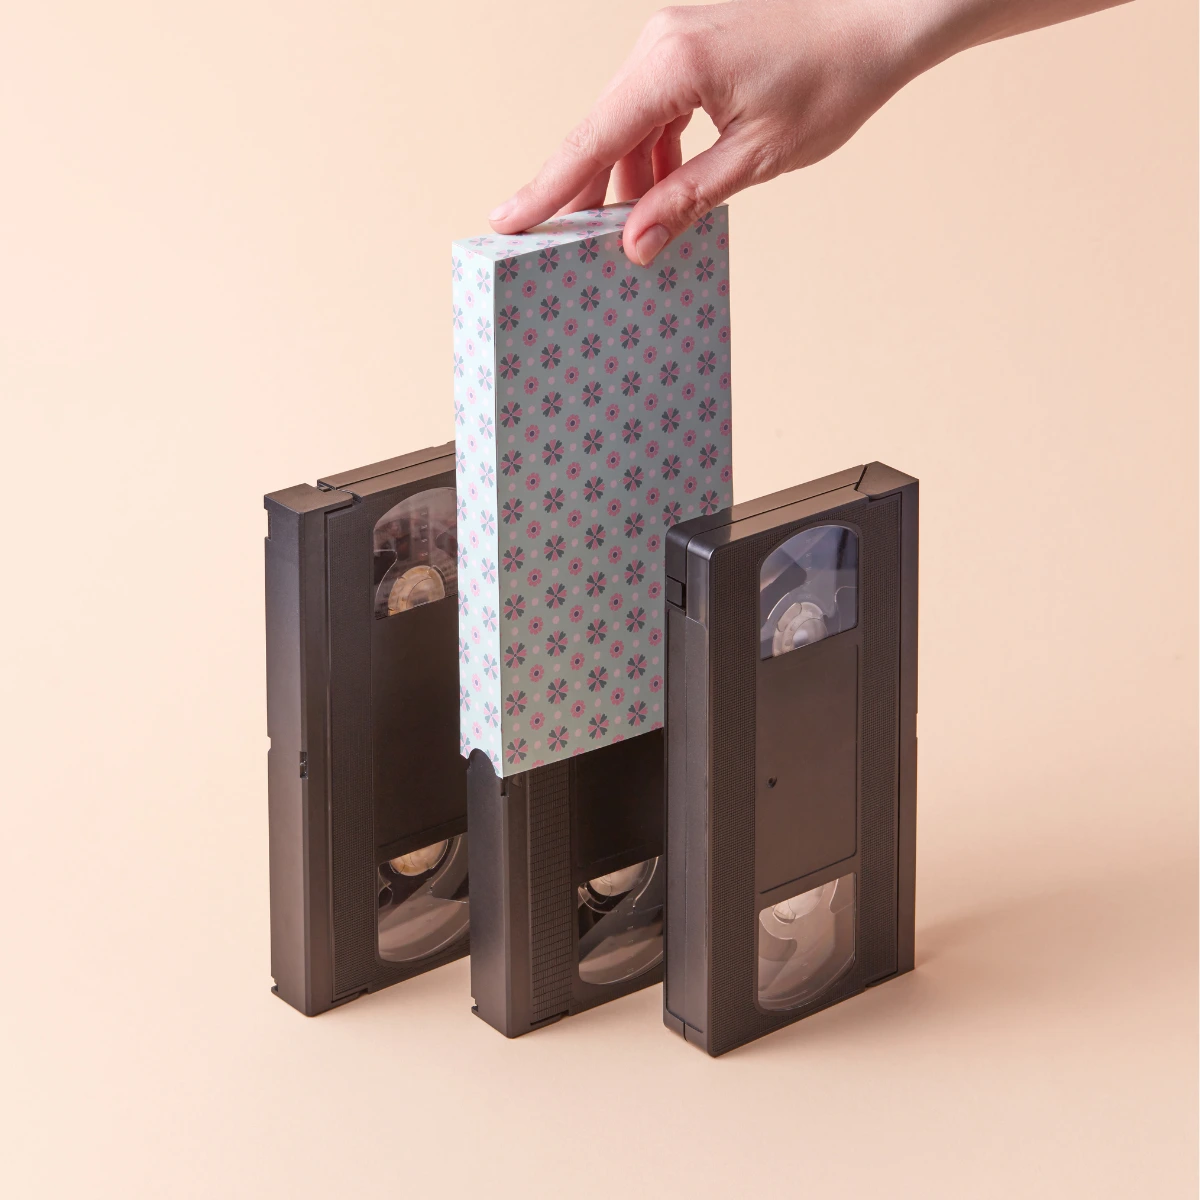
Convert VHS to Digital
A step-by-step DIY guide to convert VHS tapes to digital before they degrade. Equipment lists, software setup, common pitfalls, and when to use a professional transfer service instead.
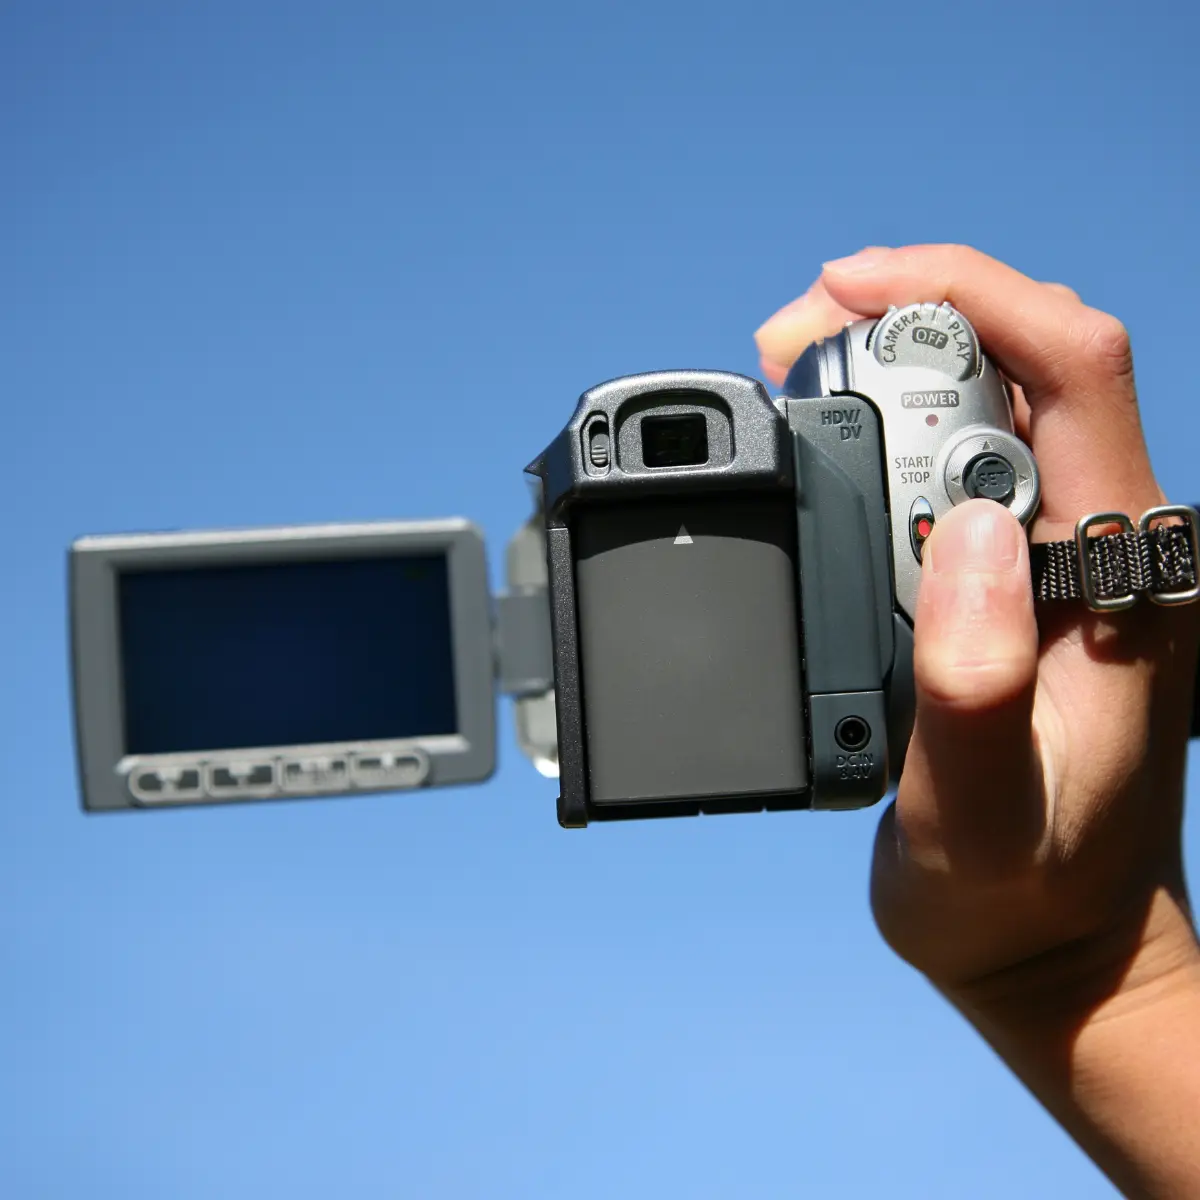
Digitise Camcorder Tapes
The comprehensive guide to converting Video8, Hi8, Digital8, MiniDV, and VHS-C tapes. Learn the universal workflow for all magnetic tape formats.
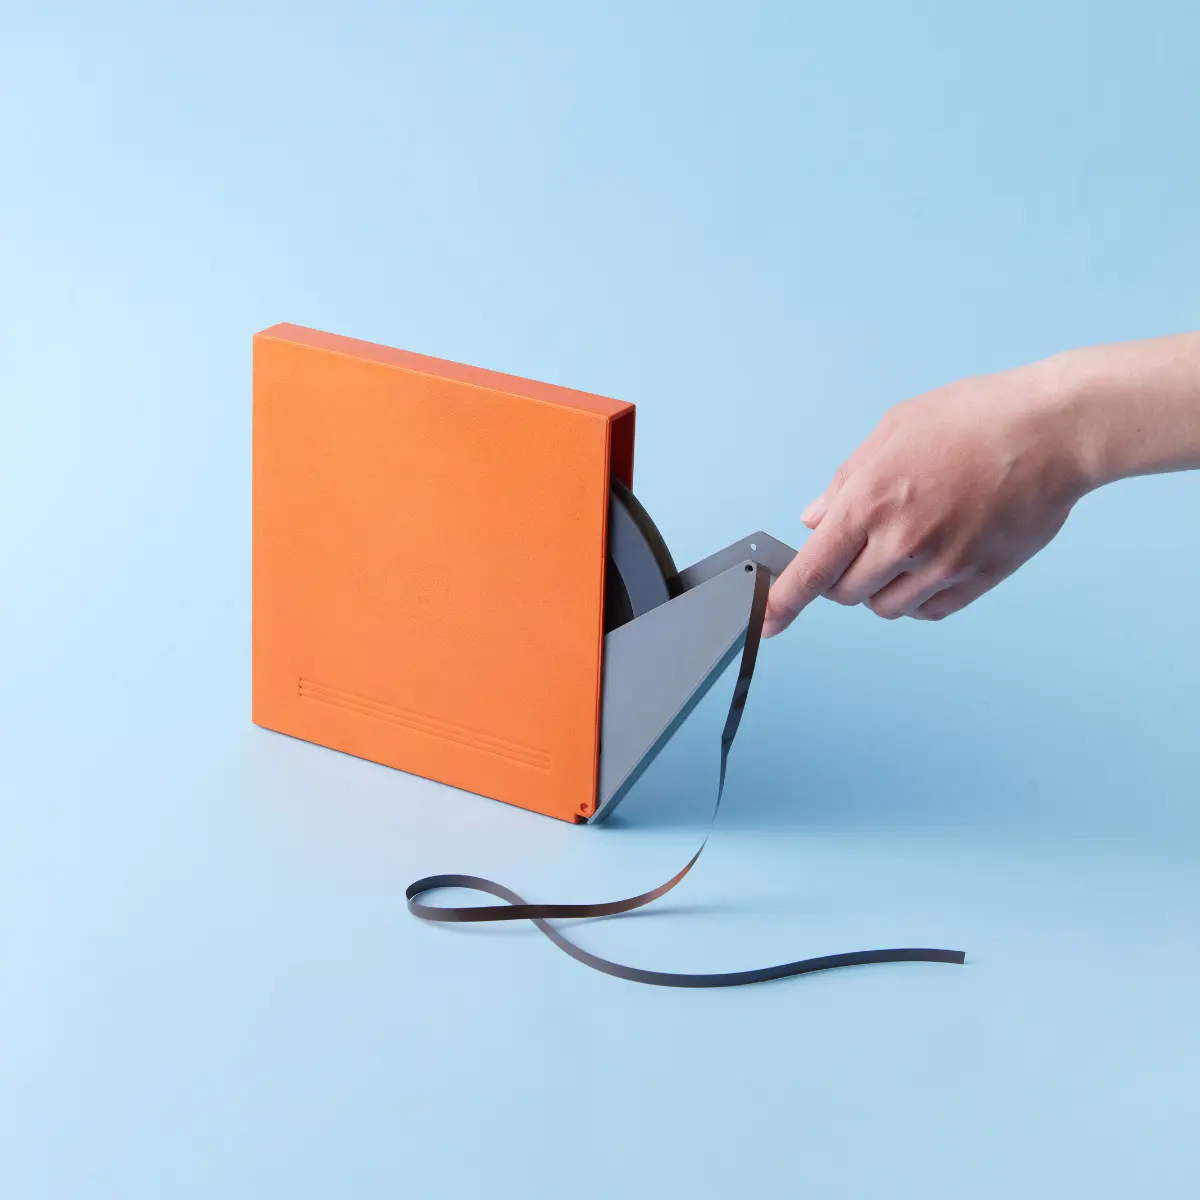
Digitise Cine Film
A realistic guide to digitising movie film. Understanding the difference between "Telecine" transfers and frame-by-frame scanning.
Digitise Photos, Slides & Negatives
From shoeboxes to digital albums. Understanding DPI, backlighting, and handling delicate negatives.
Before You Start
Whichever format you are tackling, these basics apply across the board. Getting them right before you press record will save you time and avoid costly mistakes.
Get your workspace right
Work in a clean, dry room at a stable temperature. Magnetic tape and cine film are sensitive to humidity, dust, and static. Avoid garages, sheds, and lofts. A spare bedroom or home office is ideal. Keep drinks and food well away from the equipment.
Handle media with care
Always hold tapes by the shell, never touch the tape ribbon itself. Handle cine film by the edges and the hub, keeping fingers off the image area. For photographs and slides, wear clean cotton gloves or hold by the edges only. Fingerprint oils cause permanent marks on emulsion surfaces.
Allow more time than you think
DIY digitisation happens in real time. A two-hour VHS tape takes two hours to capture, plus time to set up, check levels, and trim files afterwards. A box of 200 slides takes a full day at a steady pace. Budget your time honestly before committing to a large batch.
Have enough storage ready
Video files are large. A single two-hour VHS tape captured at decent quality will produce a file of roughly 4-8 GB. A batch of 20 tapes could easily fill 100 GB or more. Make sure you have a dedicated external hard drive (not a USB stick) with enough headroom before you start. Back up as you go.
DIY or Professional Service?
Both are valid options. Here is an honest look at how they compare so you can decide what makes sense for your situation.
Got a mix? Many customers digitise a few tapes themselves and send the rest to us. There is no minimum order.
Why do we share our trade secrets?
It might seem counter-intuitive for a professional digitisation lab to tell you exactly how to do our job at home. But at Digital Legacy, our mission is not just to sell services. It is to ensure your memories are preserved.
We know that for some, the DIY journey is part of the fun. For others, costs are the primary concern. We believe you deserve honest, professional advice regardless of the path you choose.
If you read our guides and decide to tackle it yourself, we're cheering you on. If you decide it's too much hassle or risk, we're here to help.That's the Digital Legacy promise.