How to Digitise Cine Film at Home
A realistic guide to digitising movie film. Understanding the difference between "Telecine" transfers and frame-by-frame scanning.
The "Vinegar Syndrome" Urgency
Film doesn't just fade; it chemically decomposes. If your film smells like vinegar, it is actively destroying itself. This process is contagious to other reels.
Vinegar Syndrome
A distinct vinegar smell means the acetate base is breaking down. The film will shrink, warp, and eventually turn to dust.
Projectors are Risky
Old projectors often have rusted gates that scratch film. Bulbs burn hot enough to melt stationary frames instantly.
Colour Fading
Cyan and Magenta dyes fade at different rates, leaving your films looking entirely red/pink. Digital correction is the only fix.
Equipment Options (The Reality Check)
Unlike VHS, you cannot just 'play' film into a computer. You need to photograph it. There are two main DIY paths:
Option A: Film Scanner
Devices like Wolverine/Kodak Reels ($300-$500). They scan frame-by-frame but often have heavy compression and low dynamic range.
Option B: DIY Telecine
Projecting the film onto a white wall and filming it with a DSLR. Very hard to synchronise frame rates (leads to flickering).
Splicing Kit
Old glue fails. You WILL need to re-splice broken film leaders before scanning.
Air Blower / Cotton Gloves
Dust is magnified 1000x on screen. You must work in a clean environment.
Cleaning Fluid
Film cleaner (like FilmRenew) to remove mould/dirt without damaging the emulsion.
Sounds like too much hassle?
Our professional digitisation service starts from £12 per tape — free tracked shipping, broadcast-grade equipment, and a happiness guarantee.
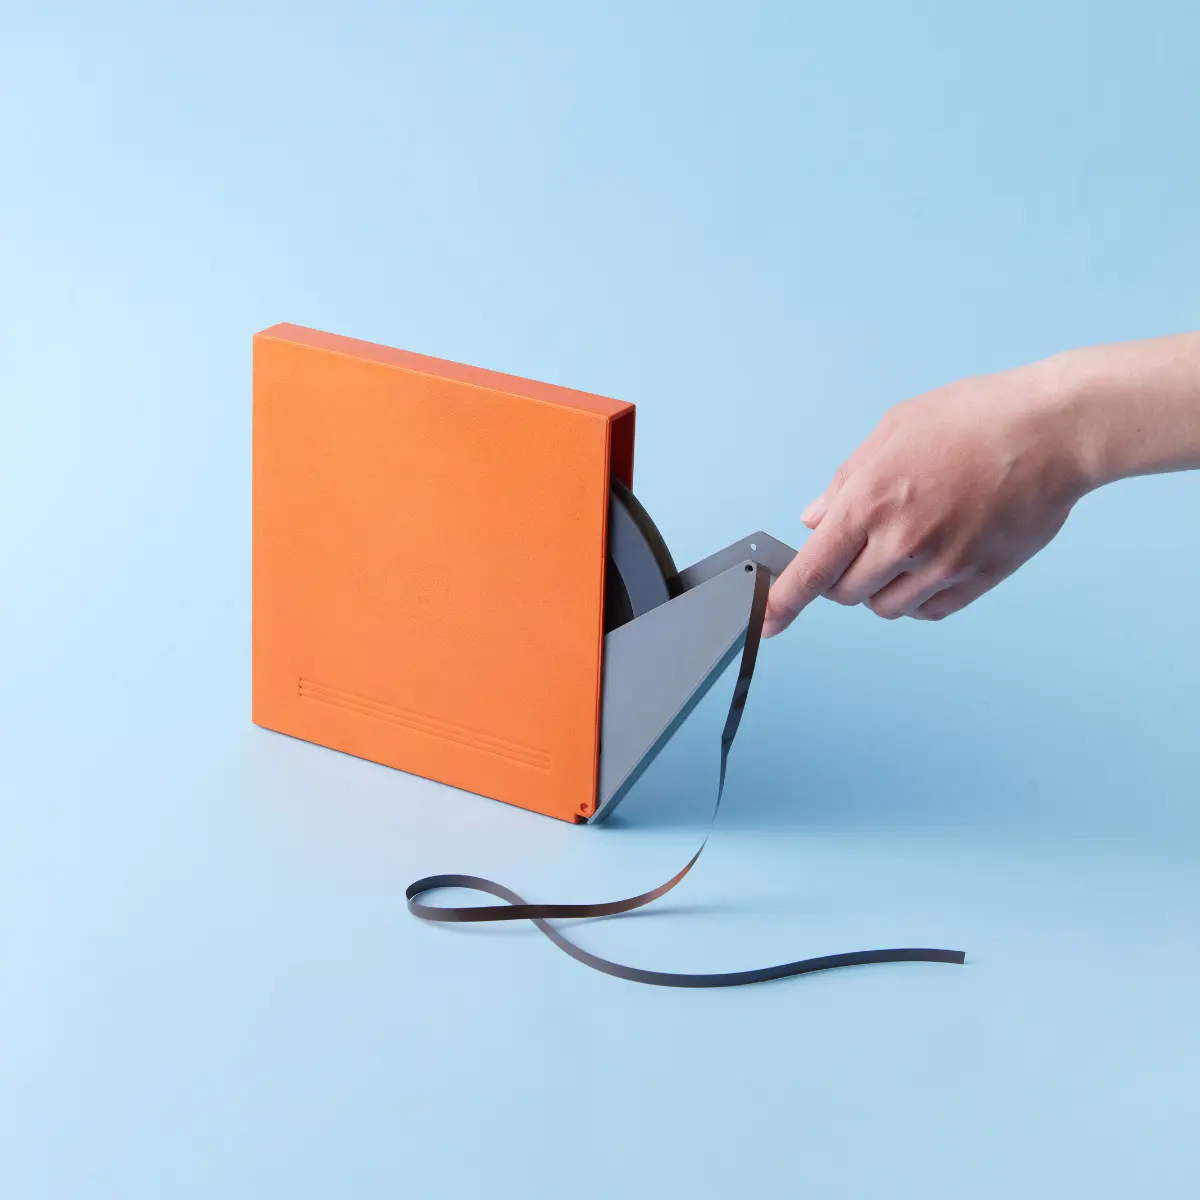
The Frame-by-Frame Process
Common Problems to Watch For
Digitising yourself can be tricky. Here are the most frequent issues our customers face when trying to do it at home.
DIY vs Professional Scanning
Resolution
- DIY
- Compressed 1080p (Low Bitrate)
- Pro
- 2K / 4K Uncompressed
Dynamic Range
- DIY
- Standard (Blacks get crushed)
- Pro
- High (Shadow details visible)
Damaged Film
- DIY
- Often jams/breaks
- Pro
- Handled by specialists
Frame Rate
- DIY
- Often wrong (too fast)
- Pro
- Corrected to 18fps
Don't risk your precious memories. Let the experts handle it.
Get in Touch
Have questions? We're here to help you preserve your family legacy.
Email Us
admin@digital-legacy.me
Best for detailed inquiries
Call Us
+44 7757 763 496
Tap to call from your phone
+44 7757 763 496
Message or call us in the app
Our Studio
Norwich, Norfolk
Professional digitisation facility
We're here to help!
"We know trusting someone with your memories is a big decision. That's why we promise to treat every tape and photo as if it were our own. Have a question? Ask away!"
Send us a message
Fill out the form below and we'll get back to you within 24 hours.