How to Digitise Photos, Slides & Negatives
From shoeboxes to digital albums. Understanding DPI, backlighting, and handling delicate negatives.
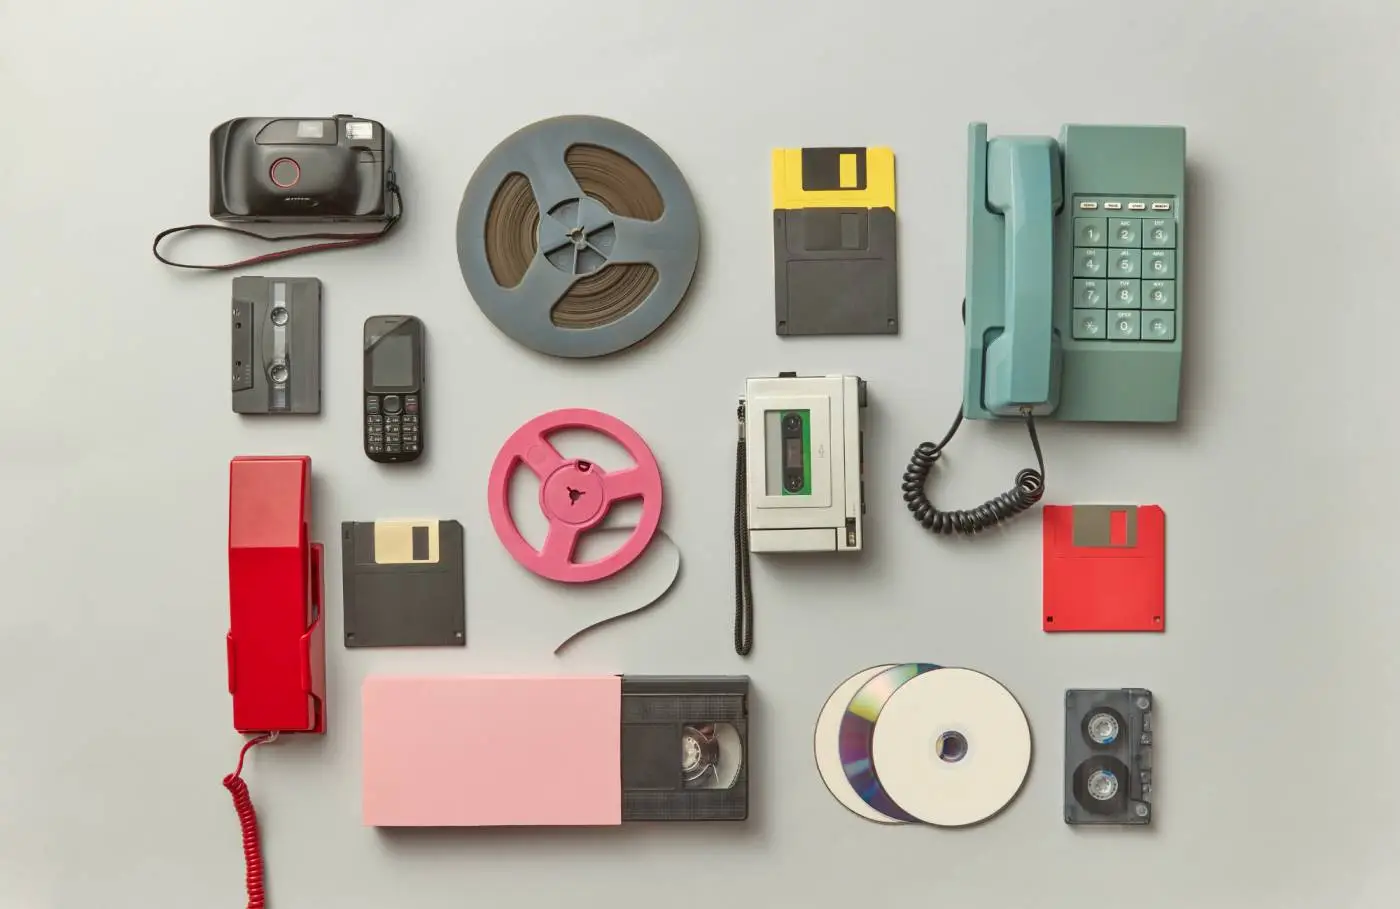
Why Scan Photos & Slides?
Paper photos fade, yellow, and curl. Slides develop mould and lose colour. Negatives are the original master copy but are useless without scanning.
Prevent Fading
UV light destroys pigments. Old "red" photos are actually photos where the blue/green dyes have faded away.
Disaster Proof
One flood or fire destroys a physical album instantly. Digital cloud backups are forever.
Unlock Negatives
Negatives consistently hold 200% more detail and dynamic range than the printed photo next to them.
Equipment You'll Need
Scanning paper prints is easy. Scanning negatives/slides requires specialized backlights. Don't mix them up.
Flatbed Scanner (for Prints)
Any Canon/Epson scanner. Must scan at 600 DPI minimum.
Negative/Slide Scanner
Must have a "transparency unit" (light in the lid). You cannot scan negatives with a normal scanner.
Microfiber Cloths
Dust is your enemy. Wipe the glass before every single scan.
Cotton Gloves
Fingerprints contain oil that chemically eats into emulsions over time.
Air Blower
Rocket blower to blast dust off slides without touching them.
Sounds like too much hassle?
Our professional digitisation service starts from £12 per tape — free tracked shipping, broadcast-grade equipment, and a happiness guarantee.
The Scanning Process
Common Problems to Watch For
Digitising yourself can be tricky. Here are the most frequent issues our customers face when trying to do it at home.
DIY vs Digital Legacy
Speed
- DIY
- 5 mins per photo (scan + edit)
- Pro
- Bulk Processed
Dust Removal
- DIY
- Manual Clicking
- Pro
- Infrared Tech (ICE)
Resolution
- DIY
- Variable
- Pro
- Standardized Archival
Colour
- DIY
- Auto-Settings
- Pro
- Human Verified
Don't risk your precious memories. Let the experts handle it.
Get in Touch
Have questions? We're here to help you preserve your family legacy.
Email Us
admin@digital-legacy.me
Best for detailed inquiries
Call Us
+44 7757 763 496
Tap to call from your phone
+44 7757 763 496
Message or call us in the app
Our Studio
Norwich, Norfolk
Professional digitisation facility
We're here to help!
"We know trusting someone with your memories is a big decision. That's why we promise to treat every tape and photo as if it were our own. Have a question? Ask away!"
Send us a message
Fill out the form below and we'll get back to you within 24 hours.